Time Tracking
Time tracking in Kaisho works three ways: start/stop timers, retroactive booking, and quick booking. All methods produce the same clock entries.
Starting a Timer
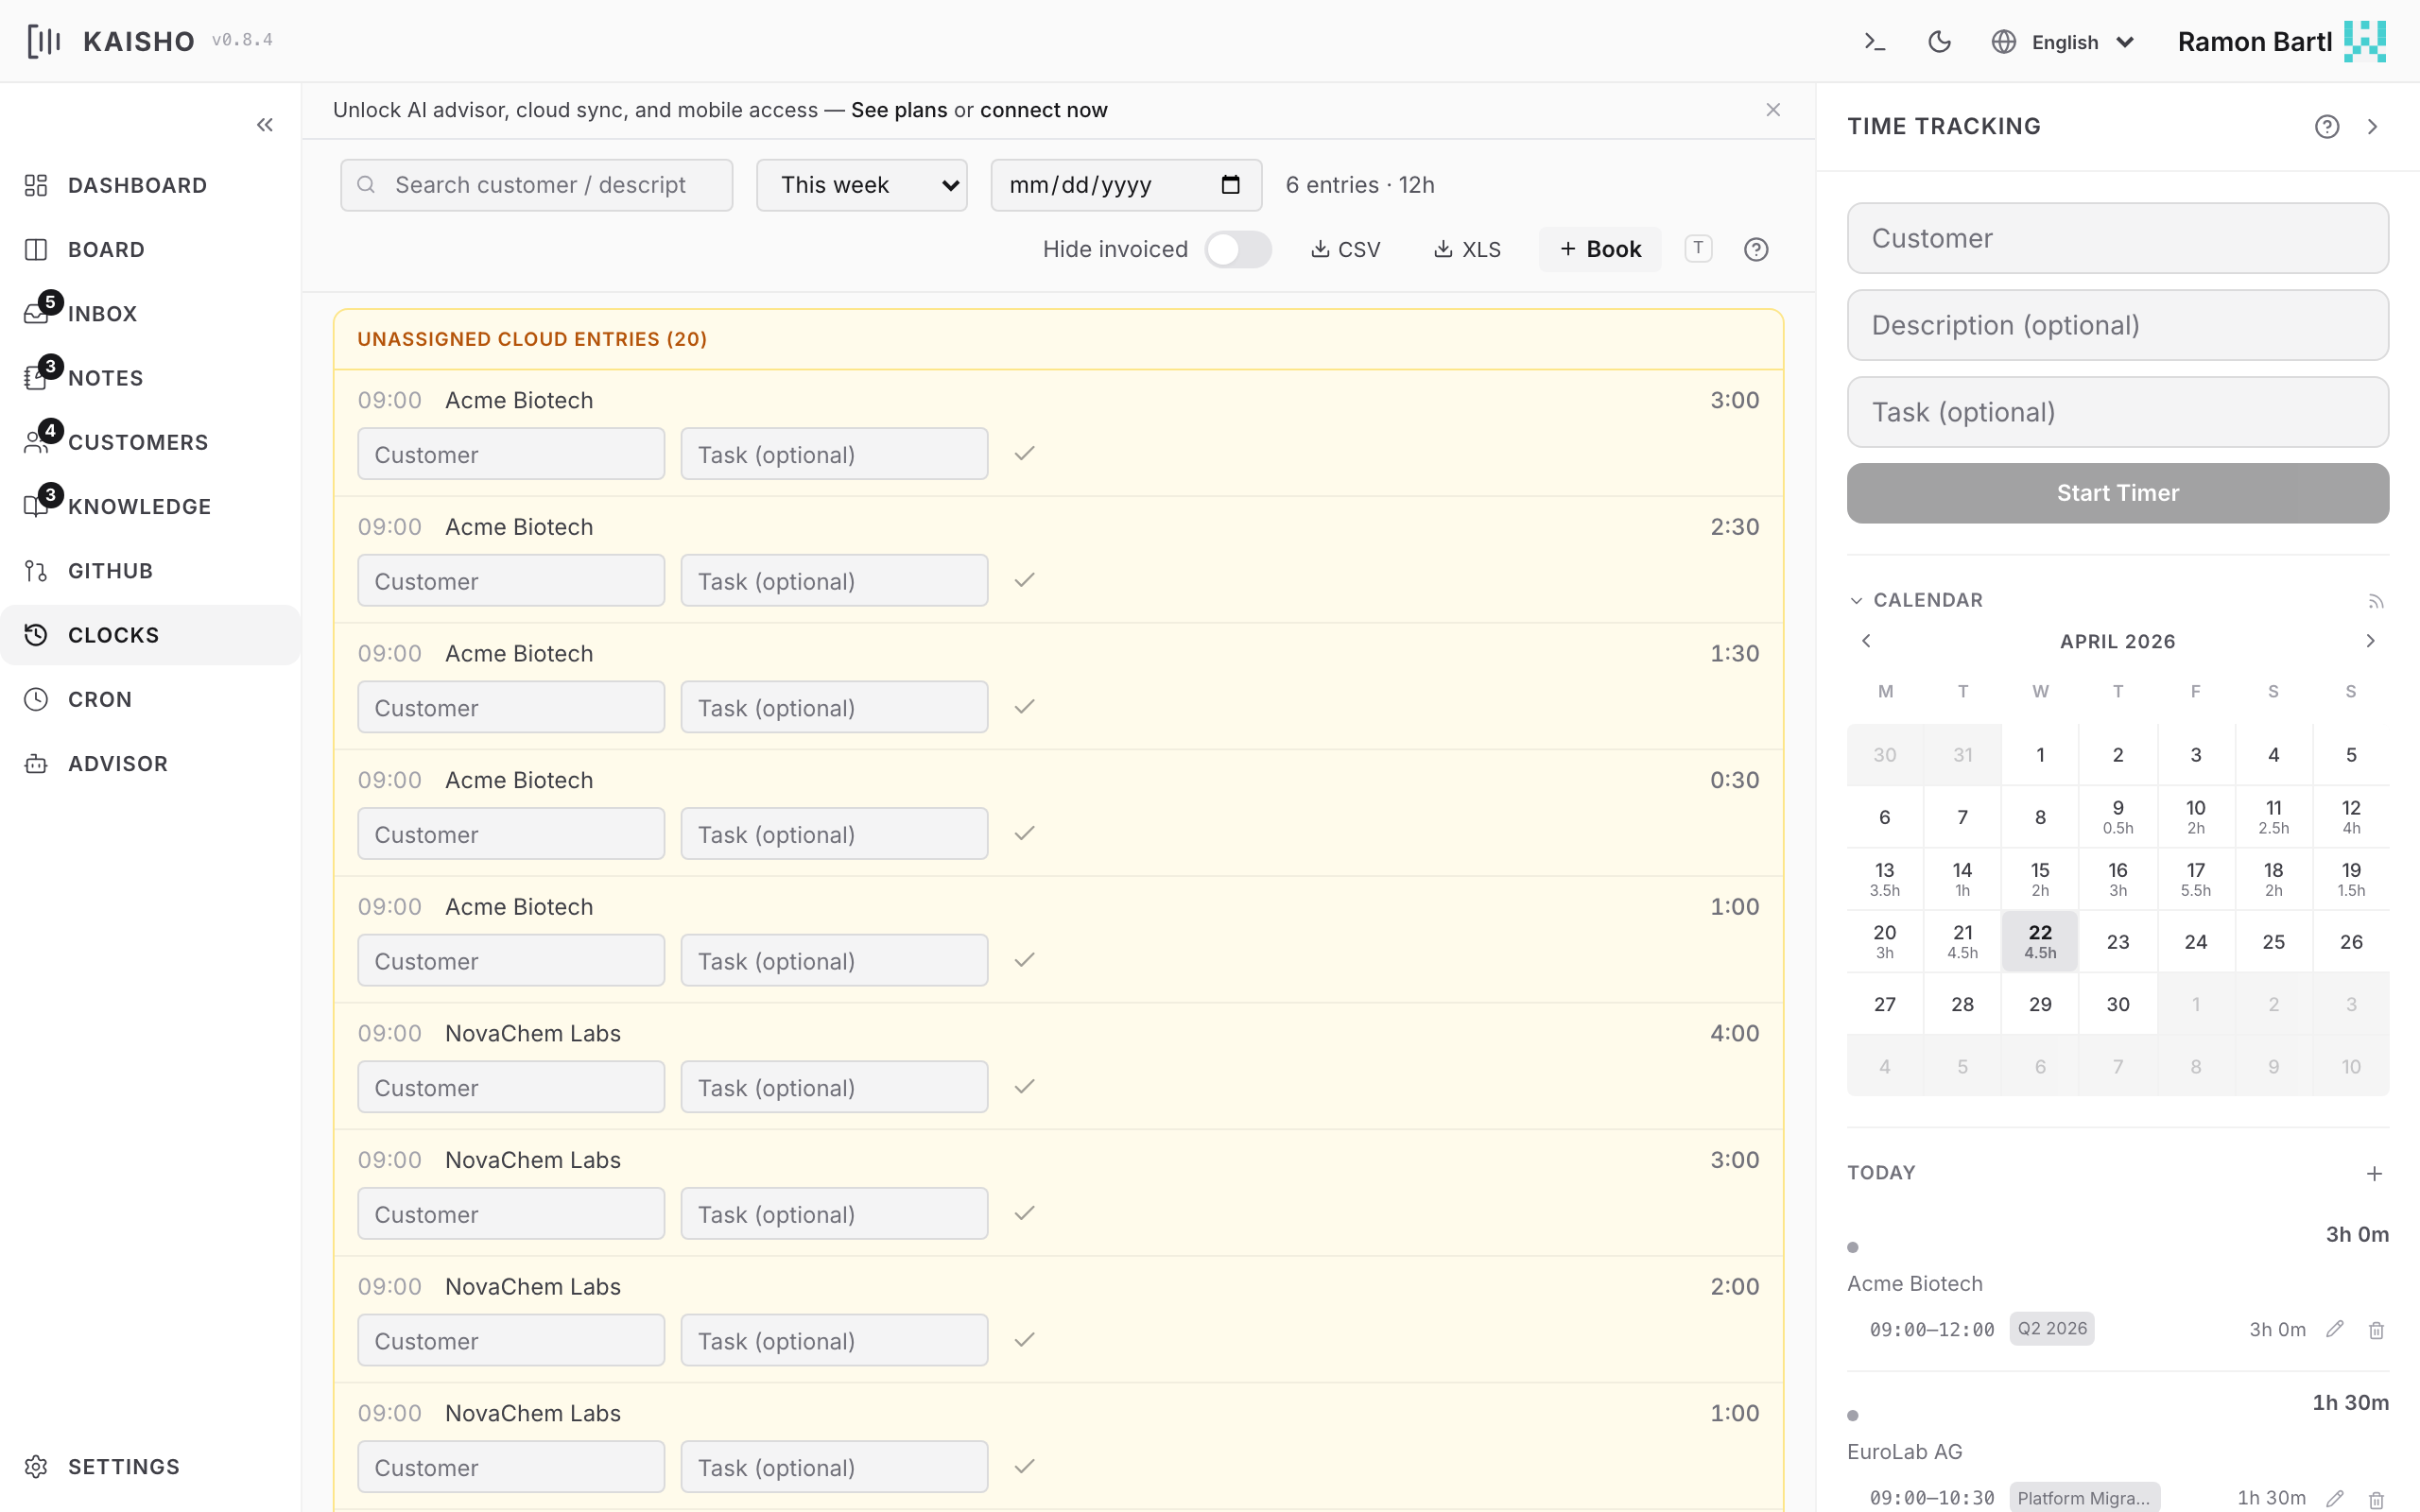
The clock widget is always visible on the right side of the screen. Optionally select a customer and type a description, then press Start. Both fields are optional.
The elapsed time counts up in real time. The header bar and the menu bar tray (desktop app) also show the active timer.
Stopping a Timer
Rounding and Merging
Since 1.8.0
Two booking helpers that cover common workflow cleanup:
- Round.
kai clock round 15minsnaps every entry in the current day (or--week/--monthrange) to the nearest rounding interval. The UI exposes the same operation under the Clocks toolbar. - Merge. Adjacent entries on the same customer/description collapse into one when invoked via
kai clock mergeor the table's selection menu. Useful when a long task got split by a pause that was forgotten about.
Booking Retroactively
Forgot to start the timer? Book time after the fact:
kai clock book 2h "Acme Corp" "Morning standup + planning"
kai clock book 30min "Beta Inc" "Quick bug fix"
In the UI, use the Quick Book form in the clock widget. Enter duration, customer, and description.
Editing Entries
Every clock entry is editable. Click the pencil on a row to open the edit dialog. The same dialog is used everywhere a time entry appears -- the Clocks table, the timer sidebar, the entries under a task card, the dashboard, and the customer view -- so editing works the same in every place. In the dialog you can:
- Change customer, description, hours, date, contract, project, or notes
- Toggle the invoiced flag
- Link the entry to a task
The notes field has Preview and Write tabs, so links render as clickable in Preview and switch to a plain text box to edit.
When an entry has notes, a small speech-bubble icon appears next to it wherever the entry is shown. Click it to read the notes and edit them in place with the same Preview/Write tabs -- no need to open the full dialog. Task cards use a text icon next to their description that works the same way.
The table supports column filtering (including regex), sorting, and resizing.
Bulk editing
Select rows with the leading checkboxes (or the header checkbox to select all) to reveal the bulk-action bar. It can mark or unmark the selection as invoiced, set a customer, and set a contract. Setting a contract requires the selected rows to share a single customer, since contracts are customer-scoped.
Viewing Entries
Filter entries by period:
| Filter | CLI | UI |
|---|---|---|
| Today | kai clock list | Period toggle: Today |
| This week | kai clock list --week | Period toggle: Week |
| This month | kai clock list --month | Period toggle: Month |
| Specific date | kai clock list --from 2026-04-01 --to 2026-04-01 | Date picker |
| Custom range | kai clock list --from 2026-04-01 --to 2026-04-15 | Range checkbox + From/To pickers |
| By customer | kai clock list --customer "Acme Corp" | Column filter |
Summary
See total hours per customer:
The dashboard budget bars show the same data visually.
Invoicing
Mark entries as invoiced when you bill a customer:
Toggle the Hide Invoiced switch in the clocks toolbar to focus on unbilled time.
Export
Export filtered entries as CSV or Excel from the Clocks view toolbar. The export includes all visible columns.
Menu Bar Tray
Since 1.8.0
The desktop app shows a timer icon in the menu bar (macOS) or system tray (Windows/Linux). The tray pill picks up the active theme so it matches whatever preset is set on the desktop side.
- Left-click opens a popover with the active timer, quick-start buttons, and recent entries
- Right-click shows a context menu with start/stop actions
- The icon changes color based on timer state: idle, active, or running long
Global shortcuts:
- Cmd+Shift+T -- Toggle tray popover
- Cmd+Shift+S -- Start/stop timer
iCalendar Feed
Clock entries are available as an iCal feed at:
Add this URL to your calendar app to see time entries alongside your schedule. The feed updates in real time.